You have a choice when you elect to sod your lawn. You can either hire a sodding contractor or you can sod it yourself. Hiring a professional contractor is more economical than you might think, especially if you are sodding a larger area. Most contractors own the necessary equipment to grade larger areas and install the sod correctly. Contact us directly for recommendations regarding quality contractors in your area. If you’re ready to dig in and tackle the job yourself, read the following basic steps to ensure efficient and successful installation.
Soil Preparation
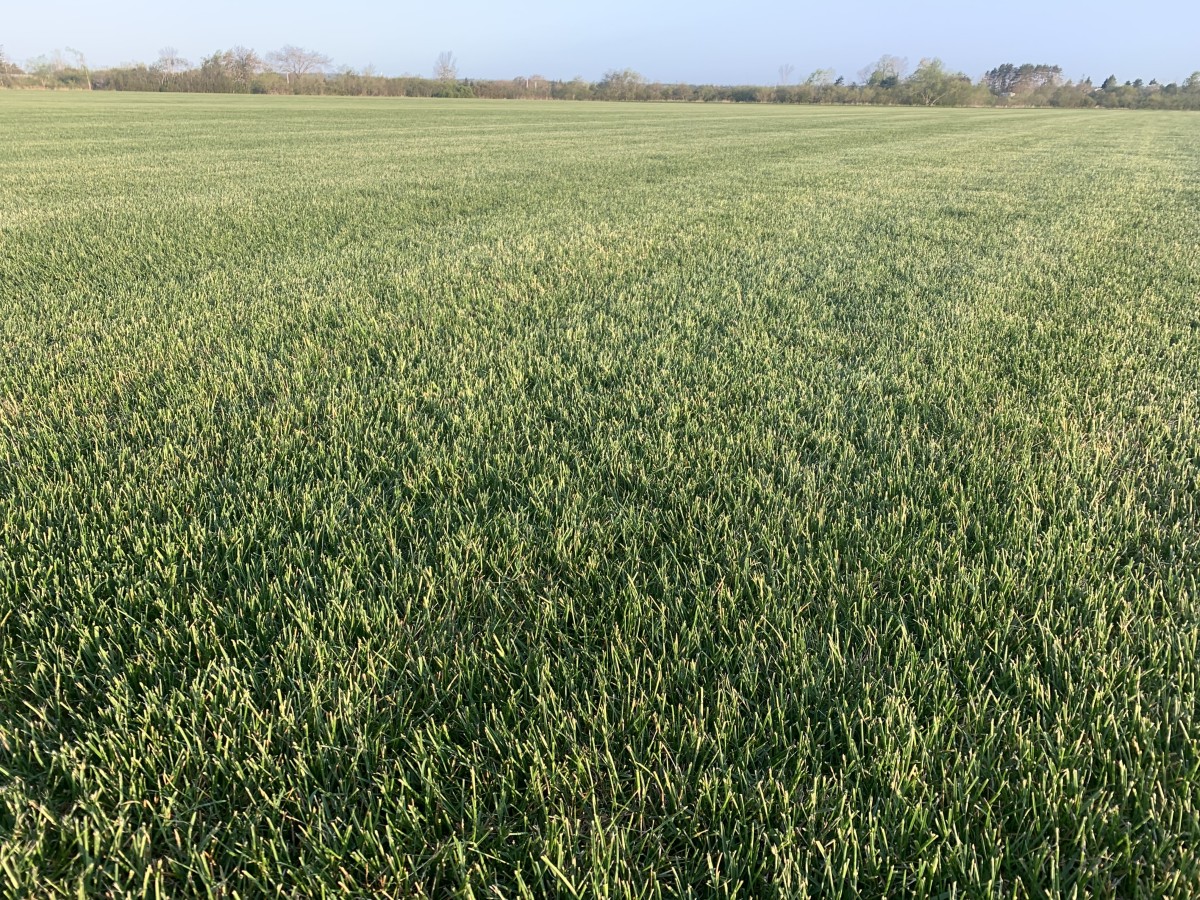
For best results, rototill or spade the area to a depth of 4” to 6”, achieving this depth improves the water absorption of your lawn, decreases rain runoff into sewer systems, and improves access to nutrients for plant life. Rake and smooth the soil, removing rocks, roots and large clods.
- Eliminate potential drainage problems by sloping the soil away from foundations. When you are finished the grade should be approximately 1” below sidewalks and driveways.
- When it comes to fertilizer, you can either fertilize the prepared ground before sod installation OR you can spread the fertilizer on top of your sod once installed.
- Fertilizer will be used by the sod over the next few days as it is watered. We recommend using a fertilizer with a high middle number (i.e. 10-25-10) Turf starter fertilizer should be applied evenly and at the recommended rate (see fertilizer packaging.
Ordering
To calculate the quantity of sod required you will have to determine the total area in square feet.Measure out the length of the area and multiply it by the width. Divide this number by 9 to get the square yards required. One pallet of sod is 50 square yards or 450 square feet. Add 5% to allow for cutting in and waste. If your lawn has a lot of curves and borders of irregular shapes add 10% for waste. Give us a call at 902-384-2233 to place your order or to help with quantity requirements.
Installation
Install your sod within 24 hours of delivery (the sooner the better). Prompt installation and watering is critical, as the sod will be stressed from harvest. It is best to begin watering within 15 minutes of installing the first piece of sod.
- Begin installing sod along the longest straight line, such as a driveway or sidewalk. Cinch and push edges and ends of pieces against each other tightly, without stretching the piece or roll. Avoid gaps or overlaps. Stagger the seams in each row in a brick-like fashion. Use a utility knife to trim corners. Avoid leaving small strips at outer edge because they will not retain moisture. On slopes, place sod across the slope to minimize erosion. Stake the sod with sod staples or wooden stakes if the slope is steep. Remove stakes once sod is rooted and prior to mowing.
- To avoid causing indentations or air pockets refrain from excessive walking or kneeling on sod while it is being installed or just after watering. After installing the turf, roll the entire area to improve sod/soil contact and remove air pockets.
Watering
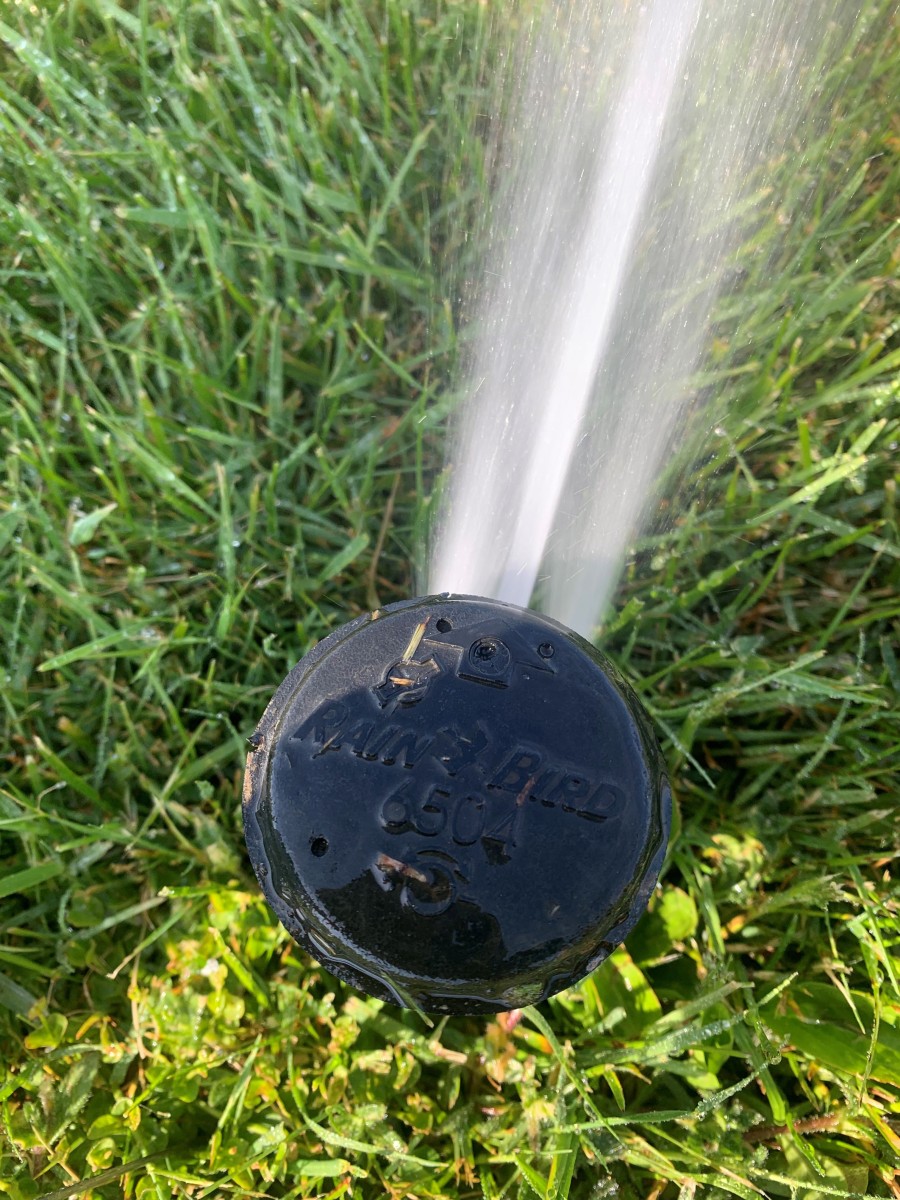
Your new lawn requires watering within the first 15 minutes of installation. Check sod frequently by lifting a corner of the sod to ensure water has reached the roots. Do not allow your sod to dry out while it is getting established. Water deep and keep sod moist at all times for the first few weeks.
Mowing
Once the sod is rooted it will withstand traffic and mowing. Ensure your mower blades are sharp and do not remove more than 1/3rd of the leaf blade. Leave clipping on your lawn whenever possible.